
Creamy Hummus
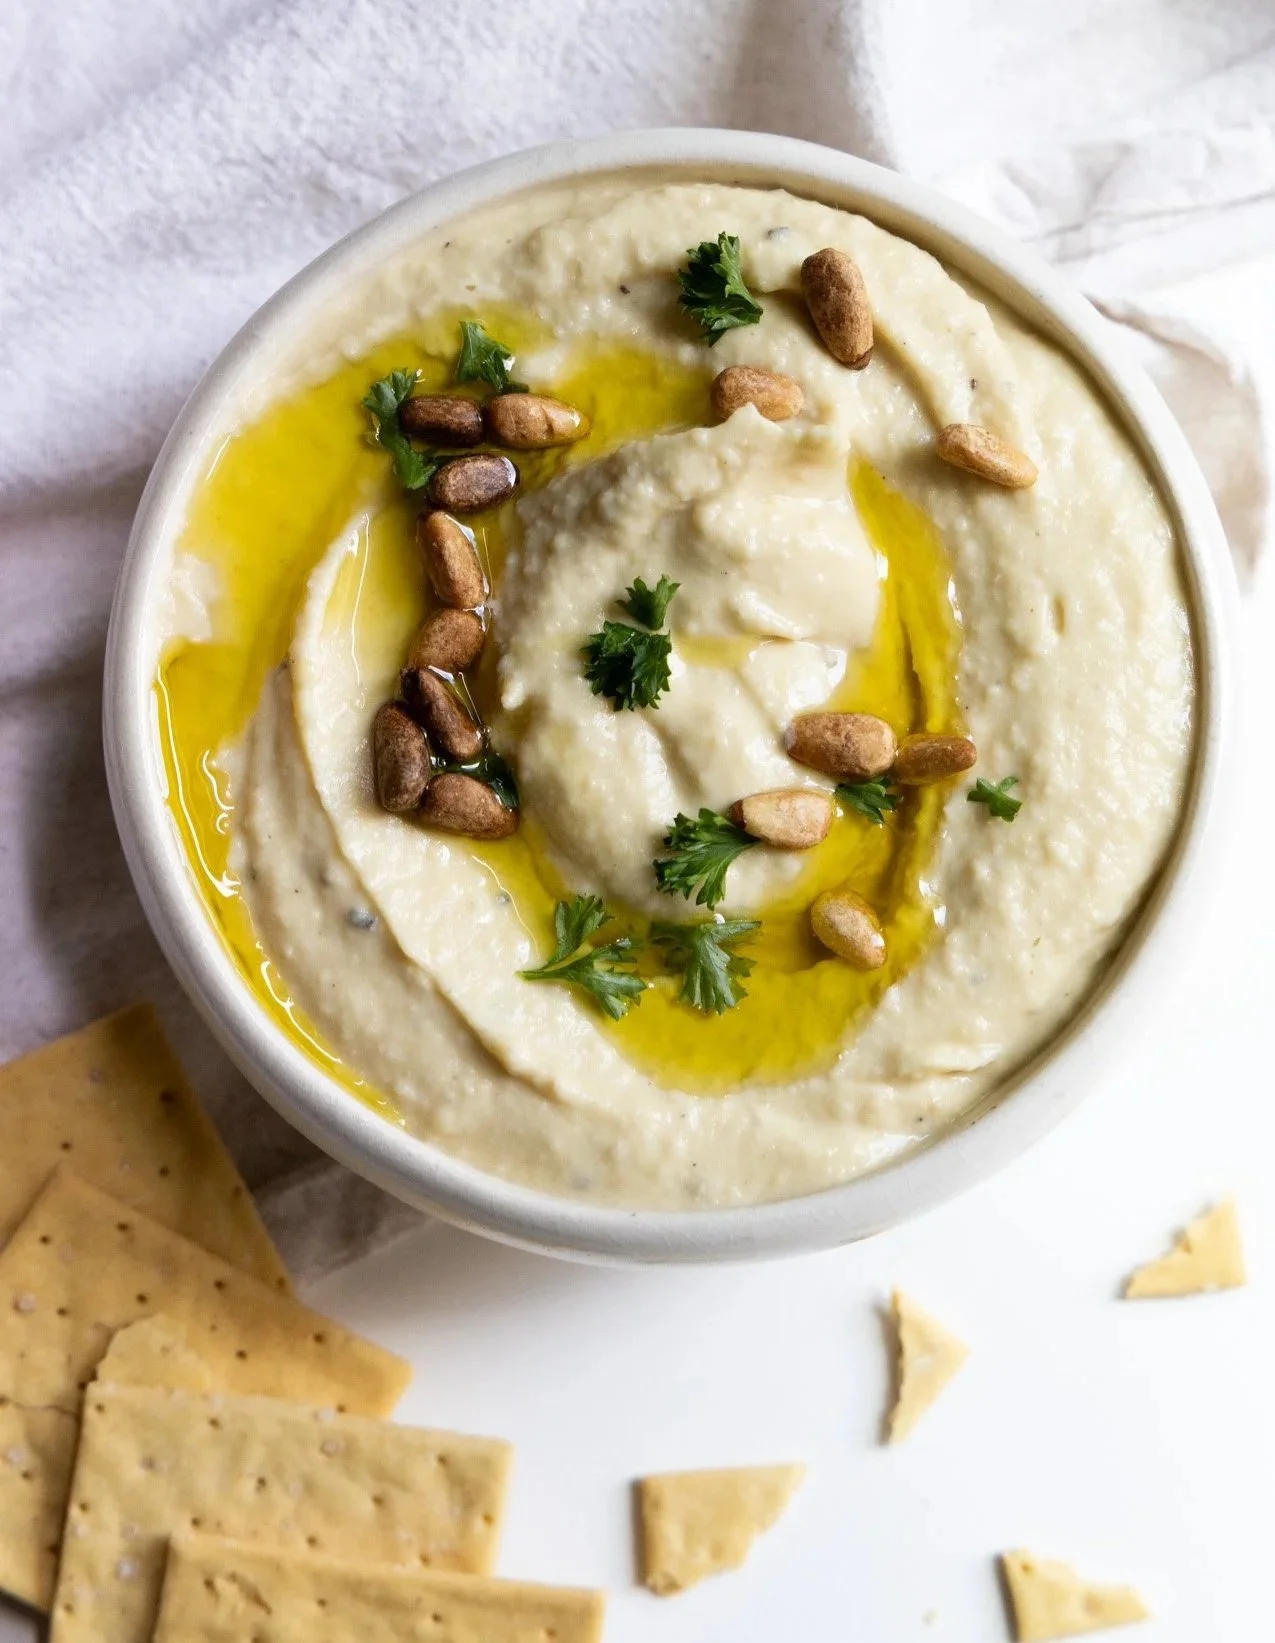
For years, I never thought to make my own hummus; for some reason, I created a narrative in my head that it was too complex or would be too much work. My goodness, was I wrong on all accounts. Made in ten minutes or less, including prep time, you won’t be able to stop eating this incredibly fresh and creamy hummus. I love how the citrus flavor is subtle yet impactful in every bite!
Why You'll Love This
Ready in ten minutes — No soaking, no peeling chickpeas, no special equipment beyond a food processor.
Genuinely silky, not gritty — A trick with ice cubes (below) gets you the whipped texture you'd expect from a restaurant version.
A little citrus goes a long way — The lemon is subtle but noticeable in every bite, keeping the hummus from tasting flat.
Key Ingredients
Canned chickpeas — The base of the hummus; canned keeps this fast, no soaking or cooking required.
Extra-virgin olive oil — A generous 5 tablespoons is part of what makes this version so creamy rather than pasty.
Lemon juice — Provides the "subtle yet impactful" brightness that keeps the hummus from tasting one-note.
Tahini — Adds nutty depth and the classic hummus flavor.
Garlic — A single clove for a savory backbone without overpowering the rest.
Ice cubes — The real trick here — processed in at the end, they whip the hummus into a smooth, silky consistency without watering down the flavor.
Parsley and toasted pine nuts — Fresh, crunchy garnishes that add contrast to the smooth dip.
Creamy Hummus
Prep time: 10 minutes | Serves 4–6
Ingredients:
1 15-ounce can of chickpeas, drained
5 tablespoons of Extra Virgin Olive oil
1 juice of a lemon
1 heaping tablespoon tahini
1 clove of garlic
salt and pepper, to taste
2 ice cubes
2 tablespoons parsley, chopped, for garnish
toasted pine nuts, for garnish
Instructions:
Place all of the ingredients except for the ice cubes and garnishes into a food processor and until well blended. Add the ice cubes until a smooth and silk finish. Spread onto on a serving plate or into a bowl and garnish with parsley and toasted pine nuts. This can be stored in an air tight container for a week.
*Additional garnish ideas: crumbled feta cheese, radishes, paprika, garbonzo beans
Tips for Success
Don't skip the ice cubes — they're the real trick to a whipped, silky texture instead of a thick, gritty one.
Process longer than feels necessary; a full 2–3 minutes in the food processor gets the smoothest result.
Drain the chickpeas well before processing so you're not adding excess liquid.
Taste and adjust the seasoning at the end — lemon and salt are what really make the flavor pop.
A final drizzle of olive oil on top before serving adds both shine and flavor.
Ways to Serve It
With pita, crackers, or vegetables — The classic way to scoop it up.
With extra garnishes — Try crumbled feta, sliced radishes, a dusting of paprika, or a few whole garbanzo beans on top.
As a spread — Use in wraps or sandwiches in place of mayo.
On a mezze platter — Serve alongside falafel, olives, and pickled vegetables.
As a dip for grilled meats or vegetables — A cooling, creamy contrast to something smoky off the grill.
Storage
Store in an airtight container in the refrigerator for up to 1 week.
Swaps and Substitutions
Pine nuts: Toasted almonds or pepitas work well if pine nuts aren't available or for a nut allergy, swap for toasted sesame seeds.
Chickpeas: Home-cooked chickpeas can replace canned; you may need to adjust the amount of liquid slightly.
Ice cubes: In a pinch, very cold water can be substituted, though ice cubes give the best whipped texture.
Tahini: Start with a bit less if you prefer a milder sesame flavor, and add more to taste.